A Scout is Thrifty: DIY First Aid Kit for Campouts and Hikes

Let’s Make Our Own First Aid Kit
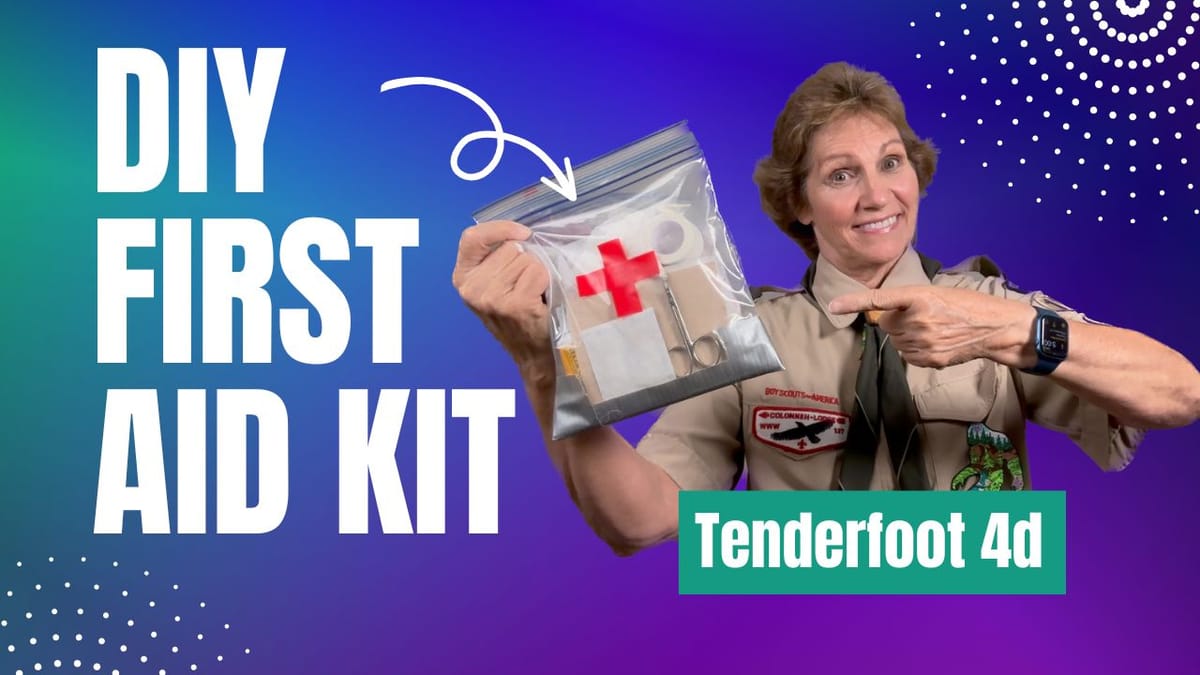
As a Scout, being thrifty is a cornerstone of our values. That’s why I love the idea of making our own First Aid kits. Not only is this cost-effective, but it’s also a hands-on way to fulfill a key requirement: Tenderfoot 4d—assembling a personal First Aid kit to carry on future campouts and hikes. Today, I’m sharing a step-by-step guide to building a practical First Aid kit, complete with tips on how to use each item and a thrifty hack to make it all fit perfectly.
The Basics: What’s in the Scout’s First Aid Kit?
Let’s start with what the Scout Handbook recommends. You can even make this a fun activity at a Patrol meeting where everyone pitches in to share supplies. Here’s what you’ll need:
- Assortment of Bandages: Include various sizes for different needs. Small bandages for minor cuts, larger ones for bigger wounds, and knuckle and fingertip bandages for those tricky areas.
- Gauze Pads (3x3): Perfect for covering larger wounds.
- Medical Tape: To secure the gauze pads.
- Moleskin: A lifesaver for preventing blisters. (Stay tuned for a future video on how to apply it correctly!)
- Hand Sanitizer: Essential for cleaning hands before treating wounds. Travel-sized bottles or single-use packets work best.
- Disinfectant: Neosporin or similar ointments help prevent infections.
- Benadryl: Handy for relieving itching, stings, or bites.
- Scissors: Ensure the tips are protected to avoid accidents.
- Tweezers: Useful for removing splinters or ticks.
- Latex-Free Gloves: Pack at least two pairs to keep things sanitary.
- Notebook and Pencil: Use 3x5 cards for recording vital details in emergencies.
Additional Items to Consider
While the Handbook’s list is a great start, I like to add a few extras:
- Signal Mirror: Useful for signaling if lost.
- Whistle: Three short bursts signal for help.
- Safety Pins: Surprisingly versatile, from fixing gear to securing bandages.
- Duct Tape: You’ll see why in just a minute.
Building the Kit: A Thrifty Hack
Here’s where thriftiness meets practicality. Instead of buying an expensive case, let’s create a durable, waterproof container using two quart-sized freezer bags and duct tape. Here’s how:
- Line Up the Bags: Overlap the open edges slightly.
- Reinforce with Duct Tape: Pre-cut strips of duct tape and use them to seal the edges, folding the tape over to ensure a tight seal.
- Double the Pouch: Fold the bags so that you create two compartments. Use more duct tape to reinforce the corners and keep everything secure.
- Organize the Contents: Place liquids like hand sanitizer and disinfectant in one side to prevent spills. Use the other side for bandages, gauze, and other dry items.
- Label It: Add a spot for the Scout’s name. This helps keep everyone’s kit organized.
Final Touches
Once assembled, double-check that everything is in place. Don’t forget the gloves—they’re crucial for safe First Aid practices. The end result? A compact, durable First Aid kit that’s ready for any adventure. Plus, it’s waterproof and lightweight, perfect for Scouts on the go.
Wrapping It Up
Making your own First Aid kit is not just an exercise in thriftiness; it’s a valuable learning experience. Scouts get to understand the purpose of each item and how to use them in real-life situations. So, let’s grab our gear, assemble our kits, and stay prepared. Remember, a Scout is always prepared—and thrifty. Let’s go Scouting, America!